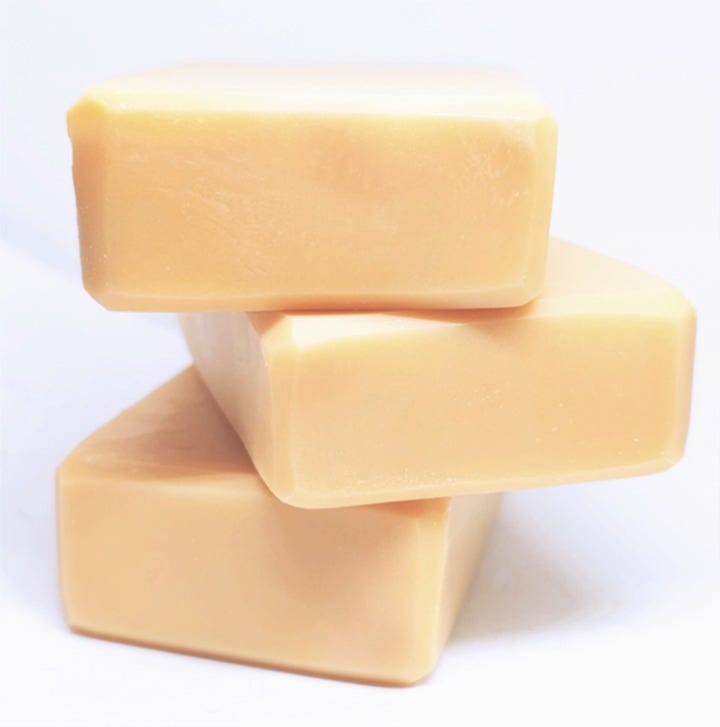
Jump to recipeFirst things first…
I love THIS CALCULATOR.
Most of my recipes are made through SoapCalc. If you need a walkthrough on how to use it, just answer the poll at the bottom of this post. I can film something and post it on YouTube and Substack!
I also use citric acid in my lye. I do this because it adds a natural soap scum preventer (a.k.a. a “chelator”), as well as being incredibly effective in reducing the dreaded orange spots. In soap lingo, that’s D.O.S. This happens when one or more of the oils used in your recipe go rancid. Your soap forms orange blemishes, and the smell is kinda gross and zappy. I don’t know how else to describe it, so I made up a word.
FYI - most links listed in this post will earn a small commission (keyword small, ha)
Now, on to what you came here for…
Budget Soap Recipe (makes 2 lb.):
Tools Needed:
NO ALUMINUM FOR ANY REASON!!!1
Heat and chemical-resistant containers for oils (at least 2)
Heat and chemical-resistant container for lye
Dixie cups (optional for weighing lye - glass, and plastic are fine, just don’t use them for food after)
Heat and chemical-resistant funnel (sturdy plastic is fine)
Scale that reads in grams and ounces
Heat and chemical-resistant spatulas for stirring
Coconut oil, canola oil, lard
Lye (sodium hydroxide)
Distilled water
Optional: citric acid, silk fibers, sodium lactate, fragrance
Ingredients, Part 1:
7 (oz) distilled water
4.4 (oz) lye, or 4.1 oz if *not* using citric acid
(the price in the link is for bulk - it’s cheaper this way)216 (g) citric acid (optional)
See how to calculate below.1 tsp sodium lactate (optional)
1 pinch silk fibers (optional)
1 (oz) fragrance oil (optional)
Ingredients, Part 2:
8.4 (oz) coconut oil (if you have a Costco/Sams) membership, it’s cheaper)
8.4 (oz) canola oil (also cheaper with Costco/Sams)
11.2 (oz) lard (cheap at local grocery store. Alternate recipe without lard)
For Part 1:
Add the distilled water to a heat-resistant vessel (ideally a closable chemistry bottle, or plastic pitcher) with plenty of ventilation nearby. It is important to use distilled water. You can get a gallon of this at the supermarket for around $1-2.
Mix in everything but the lye and make sure it is dissolved (except silk fibers, if using - they will only dissolve after adding lye).
Using eye and hand protection, weigh the lye into a separate chemical-resistant container (I use Dixie cups).
Pour lye slowly into the chemistry bottle or plastic/glass pitcher (use a funnel if pouring into a bottle.)
**The solution will get very hot, near boiling!**
Mix with a heat and chemical-resistant spoon or spatula under the ventilation.3
NEVER pour water into the lye. ALWAYS pour the lye into the water.
For Part 2:
Add hard oils (coconut and lard) to a heat-resistant container.
Warm oils in a water bath until melted.
Weigh liquid oils (canola) in a separate container.
Once hard oils are melted, take note of the temperature, then pour in your liquid oils. Test the temperature again. It is a good idea to make sure your temps are between 90-95°F, or ideally below 90°F (or 32°C), especially if using a fragrance you’re unfamiliar with.
Add fragrance (optional, and if you know how it behaves) and mix well.
Gently pour in the lye solution and stir to get a feel for how fast your fragrance moves the recipe. If not using fragrance, then:
Blend with a stick blender until the batter is about the thickness of heavy cream (thinner if you want to try swirling).
Pour into a 2lb. mold. My favorite is THIS ONE from Wholesale Supplies Plus, although you’ll probably find it cheaper on Amazon.
Allow soap to sit overnight.
If forcing the batch to go through gel, you can do *one* of the following:Place mold on a junk cookie sheet (not aluminum, not for food) in a preheated oven at 170°F for about 15-20 minutes. Turn the oven off and let it sit overnight without opening the door (don’t forget about your soap!)
Place in an old and unused crock pot on low heat for 15 minutes while covered. Turn off the heat and let sit overnight.
Use an old and unused heating pad in some insulated container and warm soap on med or high for about 2 hours (more or less depending on how fast your batch gels). Turn off the heat and let sit overnight.
The next day, once the soap feels like hard cheese, it’s ready to cut! If it’s still soft, it may not have gone through gel completely. Let it sit another day or two.
What do you think about Soap Calc?
Fancy a unique T-shirt, quirky socks, or a swirly clock? Visit my Red Bubble Shop.
I was never into poetry, but I might start. Buy Me a Coffee and see what I do with it.
Get my books: METAXYSM | HILLBILLY VAMP | REAPER’S GAMBLE
Footnotes:
The reason you should never use aluminum is because LYE REACTS WITH IT. Even when you’re done with the soap, it’s all cut and curing on a rack, don’t put it on any type of aluminum, or it will ruin your new creation!
A note about lye: I get a food-grade version from Essential Depot’s home website, and I usually buy a crap ton at once. It will last a long time as long as you store it sealed and in a non-humid area (non-humid is key!). I have mine in the basement with dehumidifiers and my current lot has lasted me almost 10 years now (32 lb). If your lye is exposed to the air for too long, it will deactivate because it is hygroscopic, which means it pulls water from the air. So I advocate for buying in bulk, but be responsible with your chemicals and absolutely keep your stash away from children and pets!!!!


